
Short answer: choose heated insoles in this order — thickness, sizing system, heating area, battery position and capacity, then connector and control. Watt-hours come last, because the first three decide whether the wearer can keep the insole in their shoe at all. A 16.3Wh pack behind a 6mm too-thick insole is a return, not a specification.
Most buying guides start with battery capacity because it is the easiest number to compare. That is backwards for insoles. This guide covers the five checks in the order they should be made, what trimming actually does to a finished product, and the two items buyers routinely forget until the second order.
1. Thickness, measured inside the shoe
An insole has to share a space that was designed for one insole. Three tests decide whether a design is viable, and all three are done with the shoe on: can the laces still be tied normally, is the instep being pressed, and can the toes still move.
There is a second reason thickness matters, and it is not comfort. A tight shoe presses the insole flat against the foot, which collapses the air layer that was doing the insulating and restricts blood flow at the same time. The wearer feels colder on the same setting, turns the heat up, and reports poor battery life. Thickness that fits is a runtime feature.
So the question for a supplier is specific: what is the net thickness this insole adds inside a shoe, measured at the heel and under the arch? Any answer given as a bare “thickness” figure without a reference point is unusable for a fit decision.
2. Cut-to-fit or sized — and what trimming does
Cut-to-fit dominates for one commercial reason: a single SKU covers a wide size range, so inventory and MOQ both get simpler. The trade-offs are real and have to be designed in, not discovered at the sample stage.
- The cut line has to be printed on the insole, on the side the wearer sees when trimming, with wording that says which line to follow.
- No trace may cross the cut zone. Trimming is the one user action that can destroy a finished pair, and the only defence is layout.
- The smallest sizes need a shorter heating layout, not a trimmed-down one. Once the forefoot element would be cut, the design has to change at the mould stage.
Sized insoles exist for programmes where fit and appearance justify extra SKUs — retail footwear, medical-adjacent products, anything sold on comfort rather than on price. If you are launching one product across a market, cut-to-fit almost always wins; if you are building a range, sized variants are what makes it look like a range.
3. Heating area: forefoot, full length, or neither
Cold is felt at the toes first, and the forefoot is the thinnest part of the sole, so that is where most heated insoles put the element. It is also the cheapest option in energy terms, because a smaller heated area draws less from the pack for the same heat per square centimetre.
Full-length elements give a more even feel and clearly support a higher price, but they need more energy, more room and a thicker construction. Heel-only elements are rare for a reason: the heel is the highest-pressure area in the whole product, so the element there has to survive the most mechanical abuse and deliver the least perceived benefit.
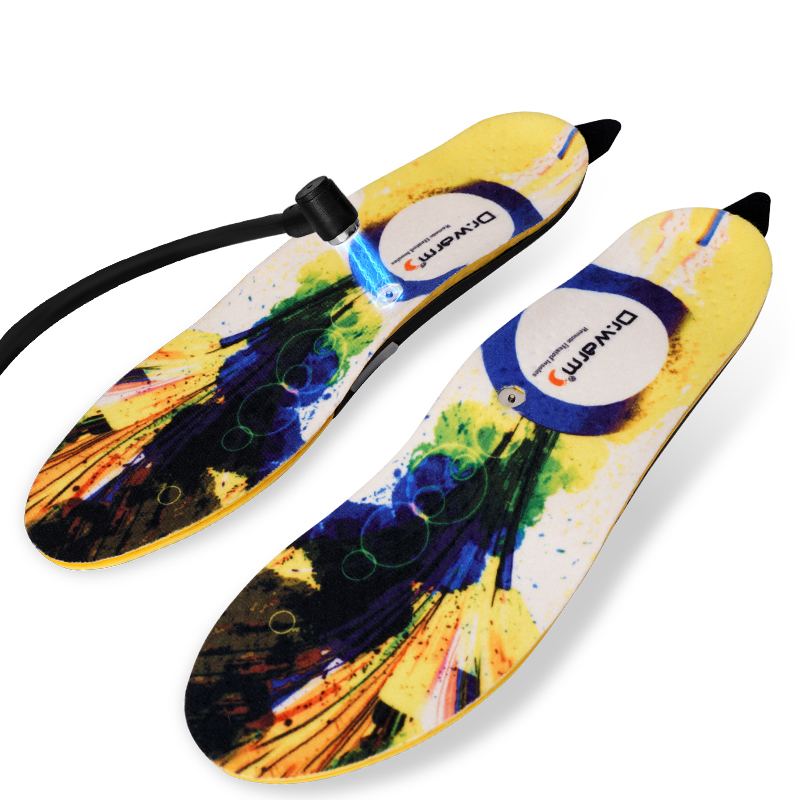
Whichever you choose, publish the heating map. A wearer who tests the product with a thumb on the arch will find nothing warm there and may conclude it is faulty — the single most common misunderstanding in this category. Our insole runtime guide covers what the forefoot layout means for hours, and the 3.7V versus 7.4V comparison covers which platform suits which area.
4. Battery position decides whether people use it
There are three placements, and each has an honest cost:

- Ankle pouch — the most discreet and the most common. It is also the coldest position in the product and the hardest to reach for charging.
- Clip outside the boot — easy to charge, runs cooler, and swings slightly when walking. Good for workwear and snow boots where a strap is acceptable.
- External pack on a cable — the only way to carry 16.3Wh or more, and the least pleasant to wear. It belongs in products sold on duration, not on refinement.
The instinct is to hide the pack. The evidence points the other way: a pack the wearer can reach gets charged, and a product that gets charged is a product that gets used. Where the trade-off is close, put the connector where it is reachable.
5. Connector and control — the two forgotten items
Six connector types are in production: USB and DC-male on the pack side, and Micro-USB, Type-C, DC and magnetic on the product side. The magnetic connector costs the most and is the one wearers actually keep using, because it connects without looking and cannot be forced in the wrong way round.
| Connector | Where it sits | Sensible for |
|---|---|---|
| Magnetic | Arch or heel edge, reachable with the shoe on | Anything sold to consumers who charge often |
| Type-C / Micro-USB | Insole edge or external pack | Programmes where a cable is acceptable and cost dominates |
| DC / DC-female | External pack or boot cuff | Workwear, where the joint has to survive rough handling |
| USB / DC-male (pack side) | On the pack, not the insole | Charging the pack itself, separately from the footwear |
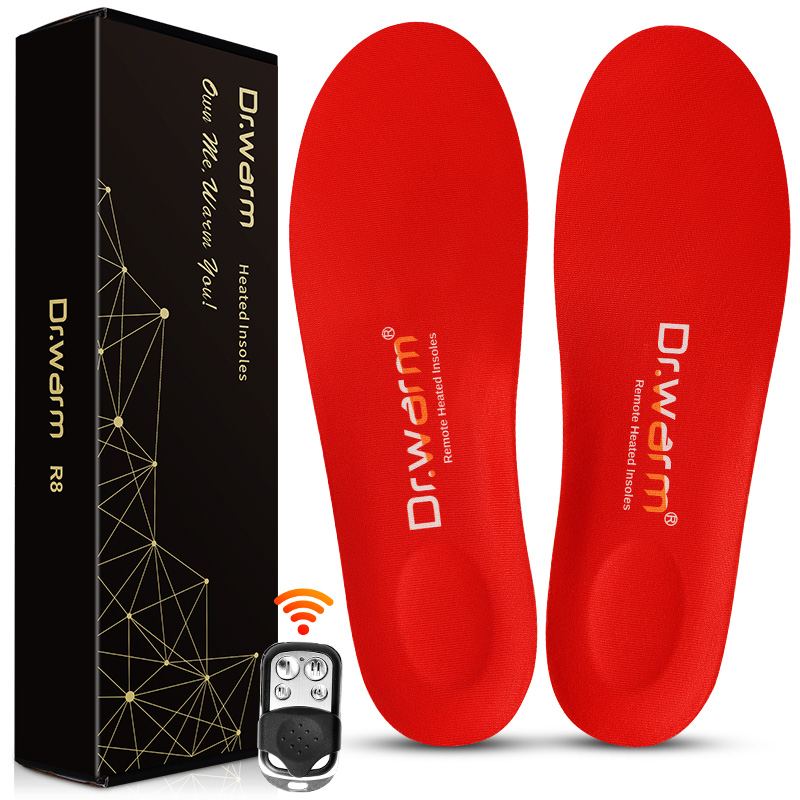
For control, the ranking is the reverse of the feature list. A physical button on the insole or a small remote is the most reliable; a wireless remote introduces a second object that gets lost; app control adds pairing, a battery dependency and a support burden. All three can coexist — the point is that the button has to work on its own.
Three configurations, priced by what they solve
| Programme | Pack | Sizing | Control | Fits |
|---|---|---|---|---|
| Entry / e-commerce | 3.7V 2,200mAh (8.1Wh) | Cut-to-fit | On-board button | Everyday shoes, gift market |
| Mainstream retail | 3.7V 3,200mAh (11.8Wh) | Cut-to-fit, printed | Button plus remote | Winter boots, outdoor retail |
| Workwear / cold store | 7.4V 2,200mAh (16.3Wh), external | Sized | Button, gloved-hand sized | Long shifts in insulated boots |
These are starting points rather than a price ladder. The honest way to choose is to fix the footwear and the climate first, then read the pack off the requirement — the full energy table across every system is in our battery lifespan data.
What to put in the RFQ
- Net thickness inside the shoe, at the heel and under the arch.
- The heating map, as a drawing rather than a description, with the cut line marked.
- Battery position and watt-hours, not just milliamp-hours — and whether a spare pack is in the box.
- Connector type and where it sits, plus whether the insole charges with the shoe on.
- Certification scope and sample lead time, because an insole that cannot ship with the right paperwork is a sample, not a product.
Dr. Warm builds rechargeable heated insoles on 3.7V and 7.4V platforms for brands, distributors and retailers, covering element layout, cut-to-fit or sized construction, pack and connector placement, control options and retail packaging. Send the footwear and the climate and we will specify the rest through our OEM and ODM service; the finished range is on our heated insole category page.
Frequently Asked Questions
How do I know if a heated insole will fit my shoe?
Ask for the net thickness the insole adds inside the shoe at the heel and under the arch, then run three tests with it in place: can the laces be tied normally, is the instep being pressed, and can the toes still move. A bare thickness figure without a reference point cannot be used for a fit decision.
What happens if I cut a cut-to-fit insole wrong?
You can cut through the heating element, and that pair is finished. The defence is layout rather than care: no trace may cross the cut zone, the line has to be printed on the side the wearer sees while trimming, and sizes below the element footprint need a shorter heating layout rather than a trimmed one.
Do I need a remote, or is the button enough?
The button is mandatory; the remote is a retail feature. A wireless remote adds a second object that gets lost, and app control adds pairing, a phone battery dependency and a support burden. All three can coexist in one product, but the on-board button has to work on its own.
Is a bigger battery always better for heated insoles?
No. An ankle-mounted pack tops out around 8 to 12Wh before it becomes uncomfortable to walk on, so anything larger means an external pack on a cable, which changes the wearing experience. Match the pack to the footwear and the session length rather than to the largest number available.