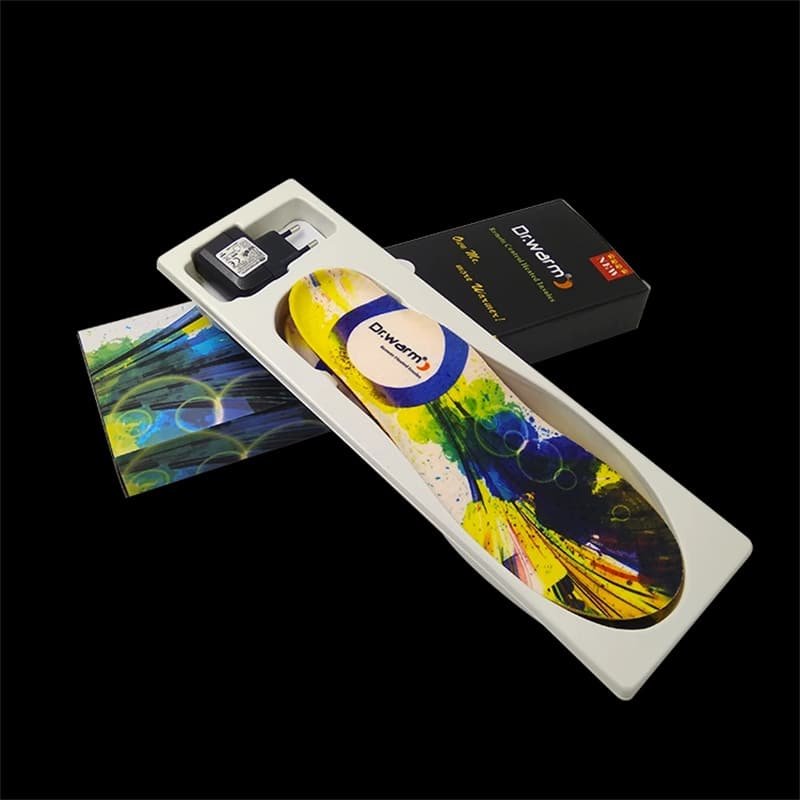

Heated insoles are the smallest heated product a winter brand can sell, and the one most often returned for the wrong reason. A product page can promise full-sole heating and long runtime while the insole is too thick for a fitted boot, or the element sits under the arch where nobody needs it.
This guide is written for two readers at once: buyers who want to choose well, and the brands, distributors and importers who need to write an insole specification a factory can build. Each section maps to a line you can put in a tech pack or a supplier brief.
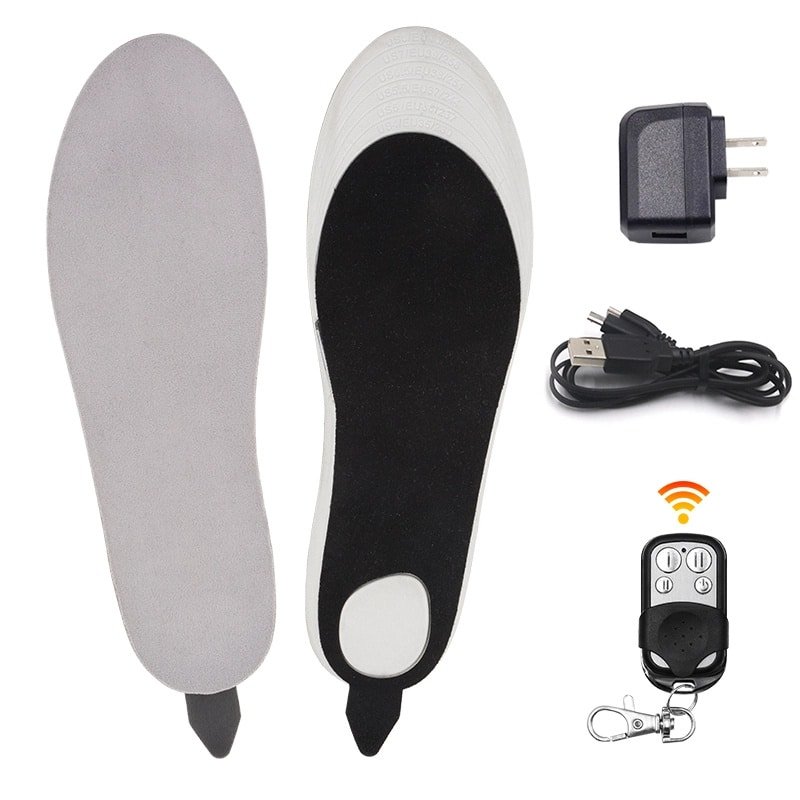
What Is Inside a Heated Insole
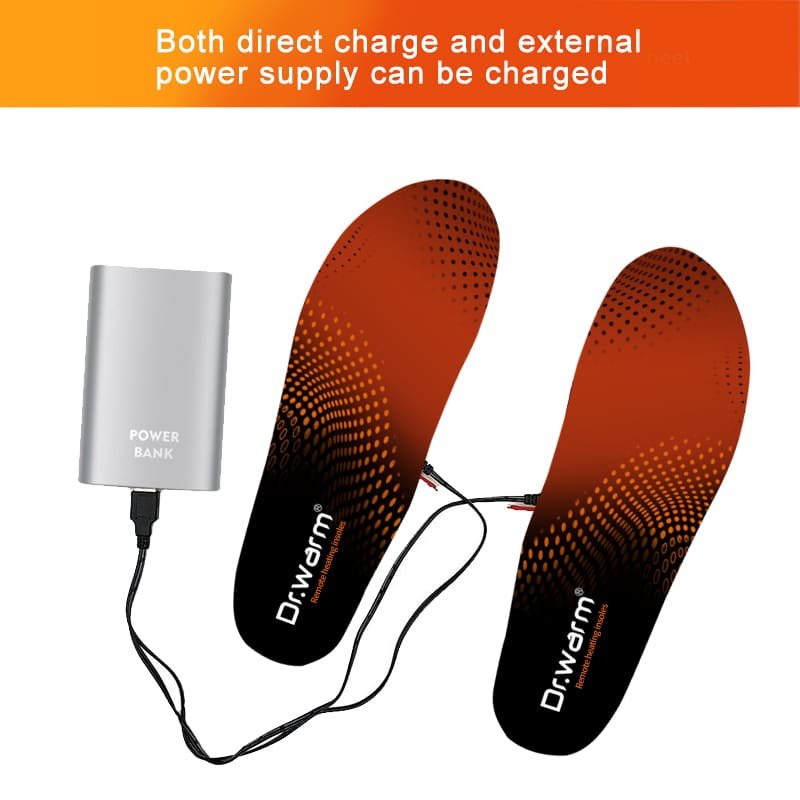
Every heated insole is four systems stacked into a few millimetres of material, and looking at them separately is the fastest way to compare offers that look identical on a product page.
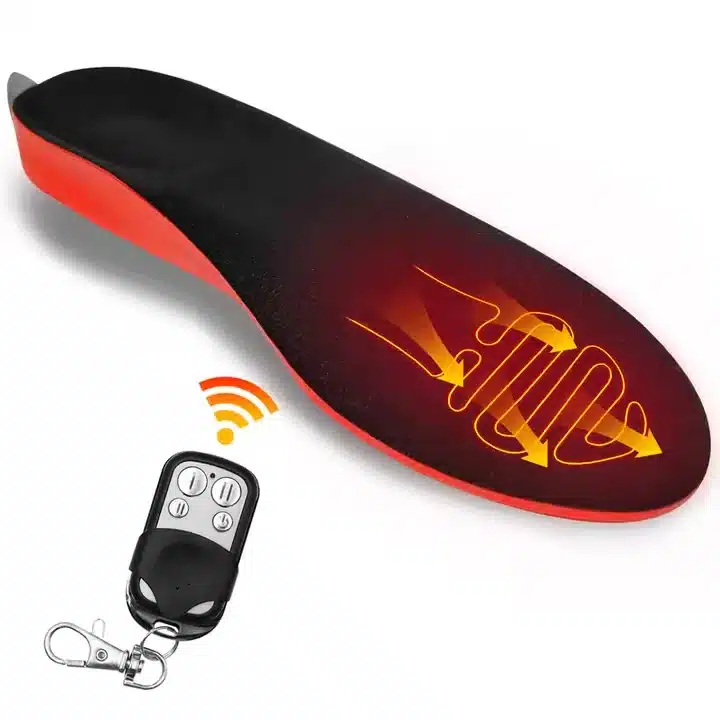
- Heating element. A carbon fiber layer, a heating film or, in older designs, a wire grid, laminated between the top sheet and the base. The format decides how evenly heat spreads and how well the insole survives repeated flexing under the ball of the foot.
- Power source. Either a small pack built into the heel or a detachable pack carried on the boot. A built-in pack keeps the profile clean; a detachable pack can be swapped mid-day and replaced on its own.
- Controller. A button on the insole edge, a wireless remote or a Bluetooth app. A remote matters more on insoles than on any other heated product, because the wearer cannot reach inside a boot to change a setting.
- Cushioning and base. The foam, the arch shape and the top sheet decide whether the wearer notices the electronics at all.
Faults trace back to element placement and thickness far more often than to the heating technology, so it is worth knowing which element a supplier actually uses — see our comparison of carbon fiber and heating film in heated insoles.
Key Specs to Compare: Voltage, Battery, Warmth and Fit
The comparison narrows to a short specification list. The table below shows the values we build to at Dr. Warm: if a supplier cannot state these clearly for an insole, that is already an answer.
| Voltage options | 3.7V / 5V USB / 7.4V / 12V / 24V (customizable) |
|---|---|
| Battery capacity | 2200, 2500, 3200 or 5000mAh at 3.7V, and 2200, 3000 or 4000mAh at 7.4V (configured to your order) |
| Heat levels | 3-level adjustable |
| Heating element | Carbon fiber / heating film (model dependent) |
| Heating coverage | Forefoot / toe / heel / full-sole (customizable) |
| Working temperature | 40–70°C, model specific (see product spec sheet) |
| Waterproof rating | IPX4 standard / IPX5 optional (where applicable) |
| Charging | Magnetic / USB / DC (model dependent) |
| Warranty | 12 months |
| Certification | CE / RoHS / FCC / UKCA / UL1642 / UN38.3 / IEC60335 / CCC / TUV / ETL |
Voltage is the line buyers misread most often. A lower-voltage and a higher-voltage system can both produce comfortable warmth, because the element resistance and the controller do the rest of the work; voltage describes the architecture of the pack more than it describes warmth. What it changes in practice is the slimness of the heel, the weight under the arch and how fast the insole reaches temperature.
Heating coverage is the second line worth fixing early. Forefoot and toe heating is the most common layout because toes feel cold first, and it draws less power than a full-sole design; full-sole layouts warm more of the foot but ask more of the battery and leave less room for cushioning. Which one is right depends on the market rather than on the technology, which is why it belongs in the specification instead of the catalogue copy.
Heated Insoles or Regular Thermal Insoles?
Buyers usually ask whether the electronics are worth it at all, so it is worth answering plainly.
Regular thermal insoles rely on insulation — foam, felt, wool blends or a reflective layer — and trap heat the wearer already produces. They are light, inexpensive, need no charging and move between shoes, but they cannot add warmth: if the feet are already cold, or the wearer is standing still, an insulating insole only slows the loss.
Rechargeable heated insoles add a battery, an element and a controller. They generate warmth on demand, hold a set temperature and target the forefoot where it matters most, in exchange for charging, a little extra thickness and more specific care.
The choice comes down to exposure time and how much the wearer moves. For short walks in moderate cold a thermal insole is the sensible answer. For hunting, ice fishing, skiing, motorcycling, outdoor work and long winter hikes — wherever the wearer is stationary or exposed for hours — active heating is the difference between finishing the day outside and leaving early. Many brands carry both and position them by scenario rather than by price; if the choice is between two heated foot products instead, see our article on heated insoles versus heated socks.
How Long the Heat Lasts in Real Cold
Runtime is the number buyers ask about first and the hardest to state honestly, because it depends on how the insoles are used rather than on the pack alone.
- Heat level. The lowest setting always runs longest; a wearer who warms up on high and drops to low gets far more hours than one who stays on high all day.
- Heating coverage. A forefoot-only layout draws less power than a full-sole layout from the same pack.
- Ambient temperature. Cold reduces the usable capacity of any lithium pack, so an indoor bench test tells a buyer nothing about a morning at minus fifteen.
- Boot insulation. A well-insulated boot holds the generated warmth and lets the insole work at a lower setting.
- Where the pack sits. A pack carried against the body stays closer to its comfortable operating range than one left exposed outside the boot.
Wearers can stretch a pack without changing the specification: charge fully before going out, warm the boots before stepping outside, drop to a lower level once the feet are comfortable and switch off indoors. For long outdoor shifts a spare matched pack beats a larger one, because it can be swapped without changing the shoe fit.
For sourcing decisions, ask for runtime measured on every heat setting, with the battery voltage and capacity, the zone size and the ambient test temperature stated alongside — a short request whose answer tells you a great deal about the supplier.
Fit and Footwear Compatibility
Fit is the specification most often left to the last minute, and the one that generates the most returns.
Thickness and foot room. A heated insole adds material inside the shoe, and in a fitted ski boot or riding boot a few millimetres can mean pressure across the instep or reduced toe room. Slim construction matters more here than anywhere else; work boots usually have room for more cushioning.
Trim-to-fit or fixed size. Many models ship with trim lines across the forefoot so the insole can be cut to a shoe size, and the element and wiring must stay outside the cutting zone — which makes the trim allowance part of the design rather than an instruction added later. Fixed-size designs remove the risk of a bad cut but multiply the SKUs a range has to carry.
Arch, heel and pressure points. The insole should sit flat, without lifting the heel or bunching at the edges and without the electronics creating a hard spot under the arch. Comfort depends on the relationship between the insole, the foot and the boot, not on how soft the foam is on its own.
Test in the real footwear. Evaluate a sample inside the boot it is intended for, standing and walking, over a session long enough for the battery weight to show. That is the only test that answers the question a buyer actually has.
Which Model Suits Which Use Case
Heated insoles sell across buyer groups with very different priorities, and the specification that wins one group can lose another.
- Hunting and ice fishing. Long stationary sessions with low body heat. Forefoot and toe coverage, steady warmth on the low and medium settings, quiet remote operation and insulated boots matter most, while peak temperature matters least.
- Motorcycling. Continuous cold, vibration and pressure under the ball of the foot. Even heat distribution, reinforced lamination, durable wiring insulation and a slim build for riding boots are the deciding factors.
- Winter hiking and snow sports. Warmth without losing cushioning or natural foot movement: breathable top sheets, shock absorption, arch and heel stability and a flexible forefoot.
- Outdoor work and cold storage. Durability, a quick battery routine between shifts and a construction that survives standing all day. Buyers in this group often order spare packs with the first order.
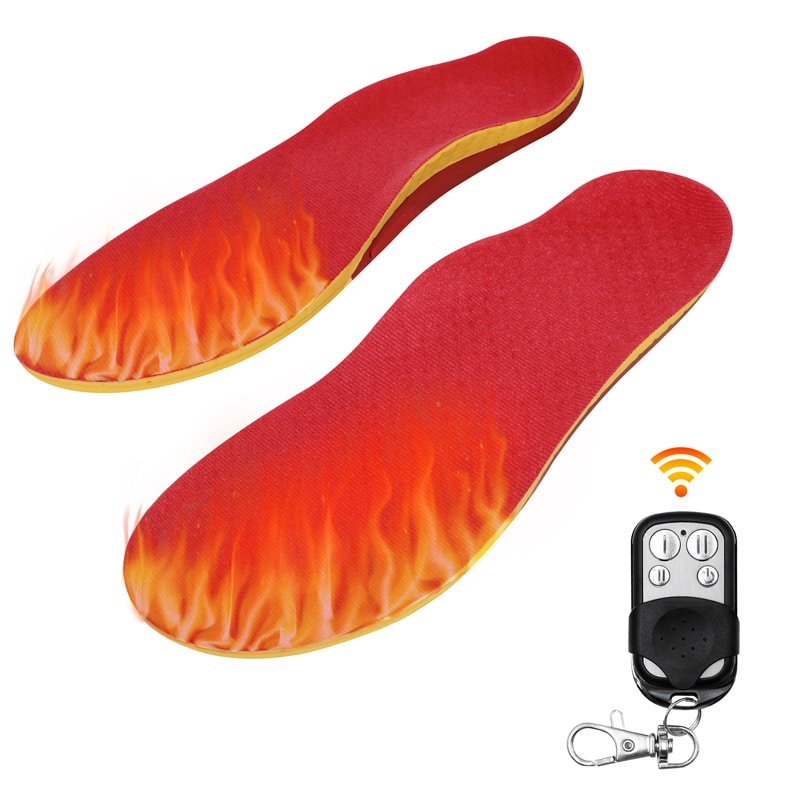
There is no single best model for every activity: the strongest product is designed around one clearly defined scenario, and a range is built by varying coverage, thickness and control rather than by chasing a headline temperature. The heated insole collection we manufacture shows how those variations come together.
Safety and Overheating Protection
A heated insole is a low-voltage product, and the safety rules are simple enough to print on the care card.
- Use only the battery and charger supplied with the insole; a mismatched charger is the most common cause of pack damage and overheating complaints.
- Choose the correct size and keep the insole flat. A folded heel, a forced fit or a cut outside the trim lines stresses the element and can concentrate heat in one place.
- Start on the lowest setting and move up only if needed; heat tolerance varies widely between wearers.
- Avoid footwear that is already tight, because heat held against one spot is uncomfortable whatever the set temperature.
- Keep the connector and charging port dry, and never charge a wet insole.
- Stop using the insoles if you notice a single hot spot, a chemical smell, a swollen pack, a melted connector, exposed wiring or a sudden change in heat.
For brands, the safety case is a design case: over-charge and over-discharge protection, short-circuit protection, over-temperature cutoff, heating-uniformity testing, flexing and compression testing and a final aging inspection are the items to confirm before the first order rather than after the first return. Our article on heated insole safety, battery protection and temperature control sets out the detail.
Cleaning, Storage and Maintenance
Care instructions decide whether the second winter is as good as the first.
- Remove the power first. Disconnect a detachable pack and any detachable controller before cleaning, and protect the connector; on a built-in design, follow the model instructions closely.
- Wipe, do not soak. A water-resistant surface does not mean the electronics can be submerged — mild soap and a soft cloth, then a clean damp wipe.
- Never bend sharply. Normal walking flex is expected; folding or twisting the insole stresses the element and the internal connections.
- Air dry flat, away from radiators, direct sun and any other heat source, and let the insole and connector dry completely before reconnecting power.
- Store flat and dry, with the pack at partial charge rather than empty, and keep both out of damp storage between seasons.
- Inspect each season for cracks, layer separation, exposed wires, damaged connectors, unusual hard spots or uneven heating.
Troubleshooting: When They Stop Heating
Most dead-insole complaints turn out to be one of a handful of causes, and a support script that works through them in order resolves the majority without a return.
- The batteries are not fully charged. Use the supplied charger, charge both insoles completely and check that the charging port is clean and the cable undamaged.
- The remote is not paired. A remote can lose its pairing after a battery change or a long storage period, so check the remote battery before assuming the insoles have failed.
- Only one insole heats. Charge both sides equally and test them separately; a left-right difference points to charging, pairing or a controller or element fault.
- The product is wet. Disconnect the packs and let everything dry completely, and never charge or power a damp system.
- The element is damaged. A single warm area, heat that stops when the foot moves, or a large left-right difference usually follows repeated sharp bending or a cut outside the trim lines.
- The pack is at the end of its life. A battery can still hold charge and deliver much shorter runtime than when new.
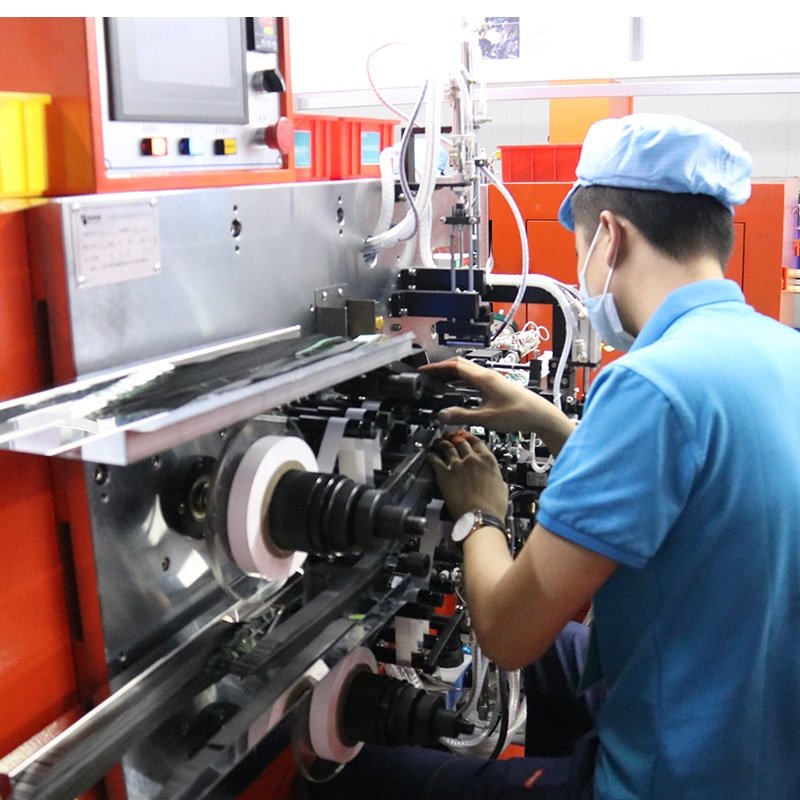
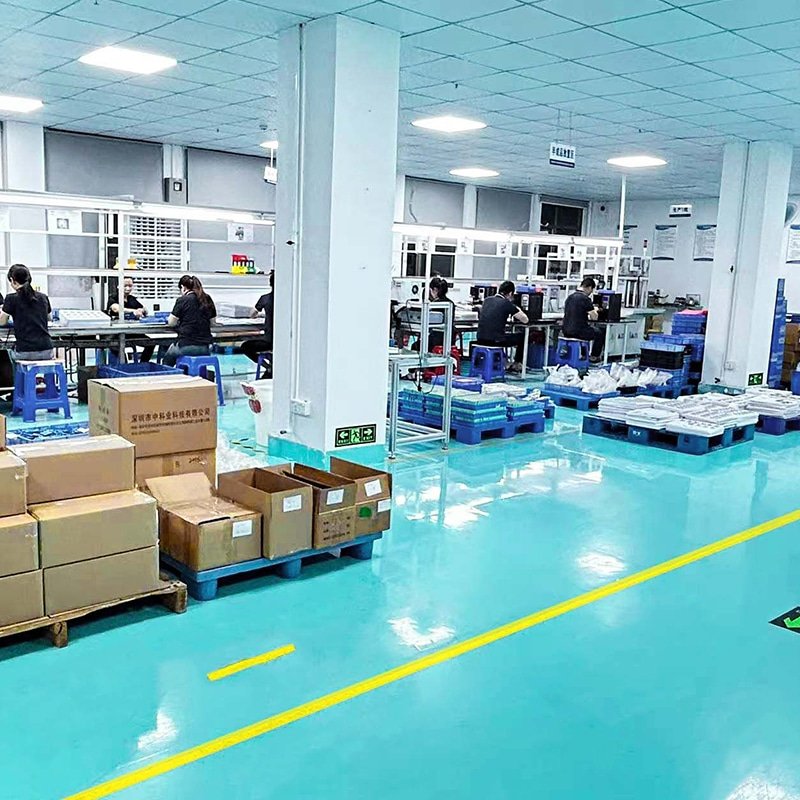
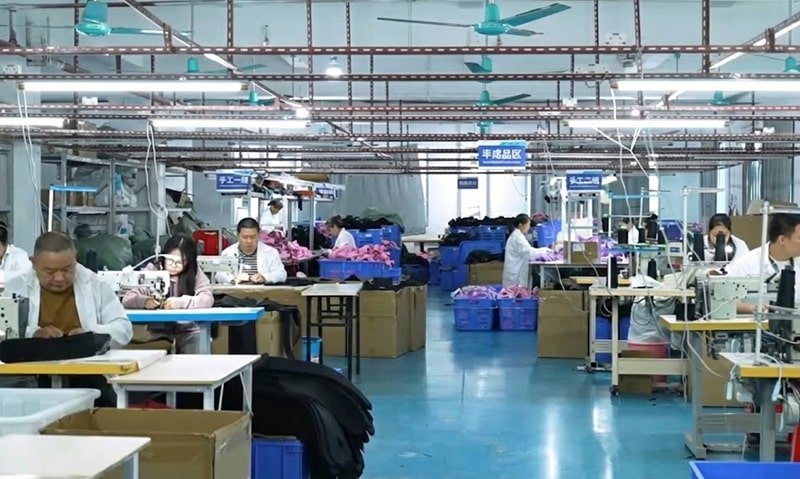
Designing for fewer failures is the better answer, and it is mostly a matter of element lamination, sealed connectors and a trim zone that keeps wearers away from the wiring — a manufacturing decision rather than an after-sales one. See how we build and test on our factory page.
OEM, ODM and Private-Label Options
For brands and distributors the decision usually ends with a custom programme rather than a catalogue order, and the parts that can be specified are broader than most first-time buyers expect.
- Structure. Insole length and width, heel shape, arch support, thickness, cushioning layers and surface materials, in men, women or unisex sizing.
- Heating system. Forefoot, toe, heel or full-sole coverage, zone layout, output levels and the temperature-control logic.
- Battery and control. Built-in or detachable packs, pack position, charging interface, and button, remote or app control.
- Branding and packaging. Logos, labels, colourways, instruction sheets, barcodes, retail boxes, carry bags and inserts.
Our standard terms are straightforward: stock from 1 unit, OEM from 100 units and ODM from 500 units, sampling in 7 to 30 days and mass production within 45 days, and a standard manufacturer warranty. A useful enquiry states the target country, the intended use, the estimated quantity, the shoe-size range, the required coverage and runtime target, the control preference, the logo files and the packaging concept. Battery development and certification support are handled in house — see the battery solution page — and our article on choosing a reliable custom heated insoles manufacturer covers what to check before committing. For the full service scope, start with OEM and ODM services.
Frequently Asked Questions
How long do heated insoles take to warm up?
Most designs reach a comfortable temperature within a few minutes of switching on, and warm-up is fastest on the highest setting. That is the practical reason to start high and drop down: the setting that warms quickly is not the setting that stays comfortable for hours. In very cold conditions allow a little longer before judging the output.
Do I need to size up my shoes to use heated insoles?
Usually not, provided the insole is thin and the shoe is not already tight. The exception is fitted footwear such as ski boots and riding boots, where even a small increase in stack height changes the fit, so a sample should be tested before deciding. Trim-to-fit removes the length problem, but it does not create space where there was none.
Can heated insoles be worn with orthotic inserts?
In most cases one layer has to sit on top of the other, and stacking two insoles changes both the fit and the pressure under the arch. The better answer is to build the orthotic support into the heated insole itself, which is a standard customisation: arch shape, heel cup and cushioning can all be specified alongside the heating element.
How many seasons should a pair of heated insoles last?
The insole body usually outlasts the battery. With normal care the element and the laminated structure hold up across several seasons, while the pack loses capacity gradually and is the part most likely to need replacing first. Storing the pack at partial charge, charging at room temperature and inspecting the connectors each season decide which end of that range a product falls on.
Are heated insoles suitable for people with poor circulation?
Many wearers choose heated insoles precisely because their feet feel cold quickly, and the product warms the foot from the sole rather than relying on circulation to carry warmth. That said, anyone with a medical condition affecting sensation in the feet, including diabetes and neuropathy, should take advice from their doctor before using any heated product.
Can heated insoles and heated socks be worn together?
Yes, and some buyers pair them deliberately: the socks warm the foot and the ankle, the insoles warm the sole and the toes, and each runs on its own battery. The practical limit is space inside the boot, so the combination works best with a slim insole and a thin heated sock.
To source a heated insole range, the checklist is the same whether you start from a catalogue model or a blank sheet: fix the fit first, fix the specification second, then test in real cold and publish the care and safety rules. If you would like a specification review before your next order, our engineering team can work from your tech pack or from scratch.
Insole samples were on the booth at ISPO 2026 in Amsterdam, and most were sold or reserved by the end of the show. Our recap covers what buyers asked and how to request samples now.