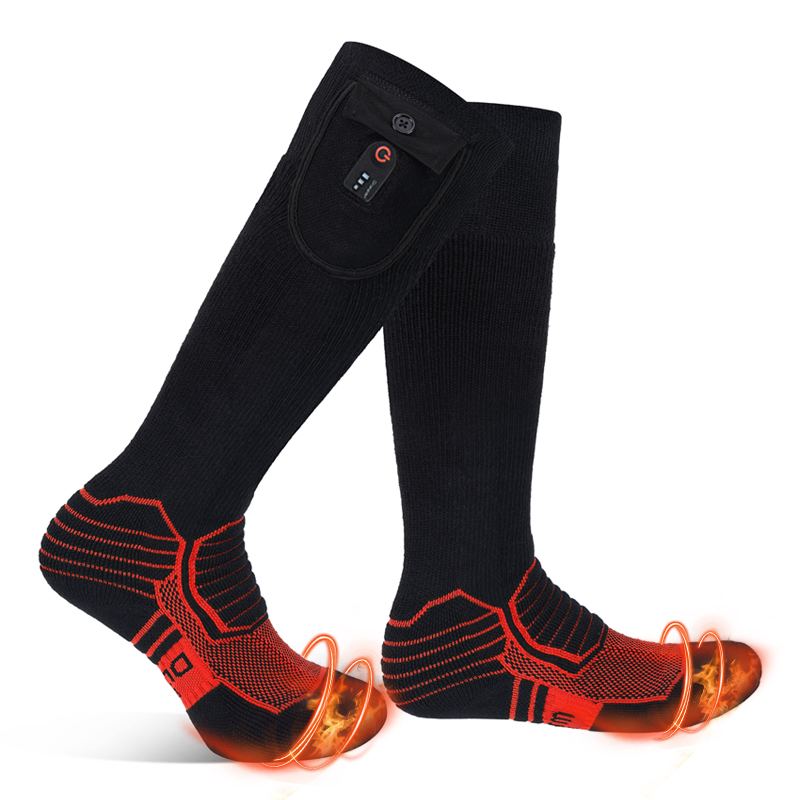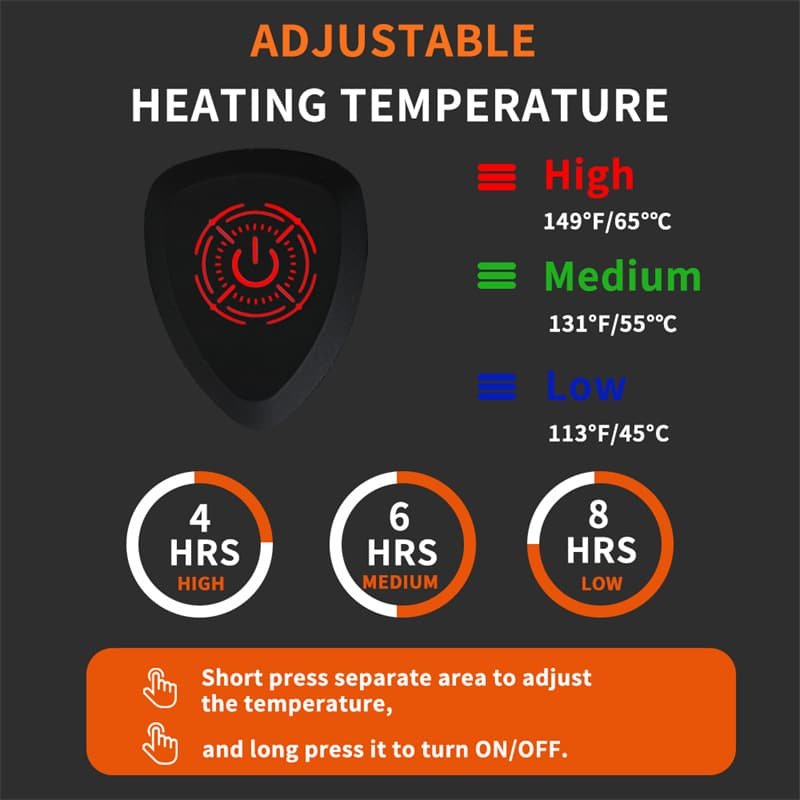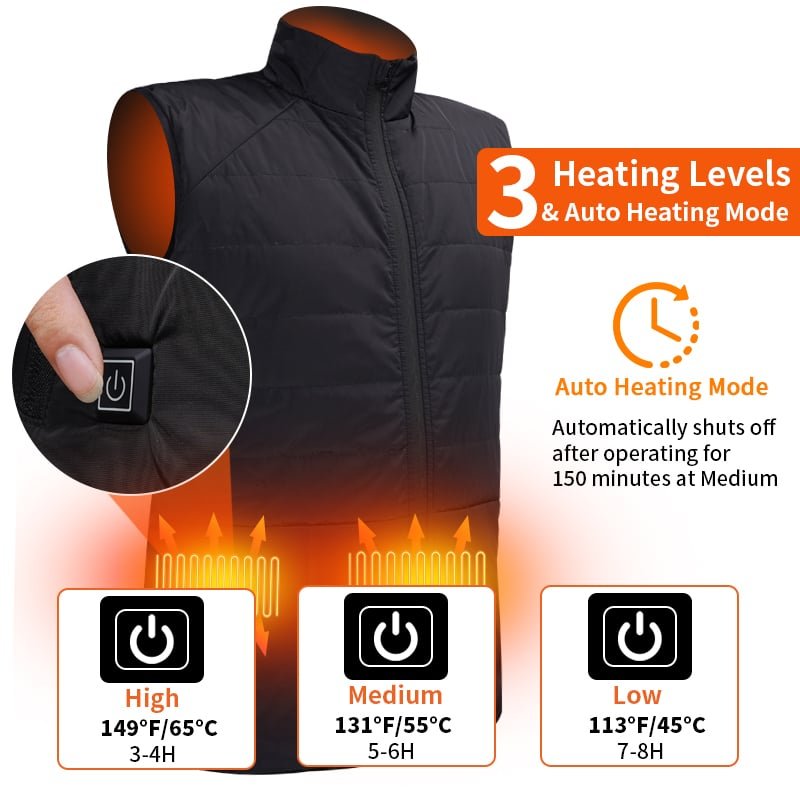

A heated sock can go in the wash. A heated glove often can. A heated insole, in almost every design on the market, cannot — and the reason is structural, not a manufacturer’s caution. The sock’s element is sewn into stretch fabric that survives water. The insole’s element is laminated between a moulded base and a fabric top, meets a charging contact at the heel, and folds at the toe several thousand times a day. Cleaning it is not washing. It is wiping the right places and keeping water away from the wrong ones.
The three places water and heat must never reach
Everything in this article follows from three locations, and knowing them turns a vague instruction sheet into a working rule.
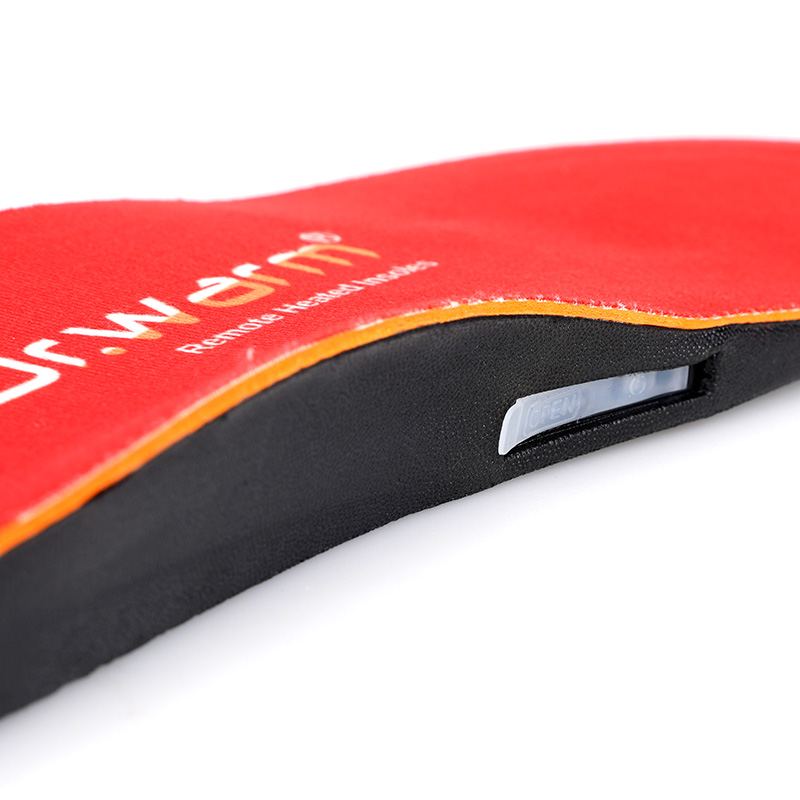
- The heel contact. On magnetic-charging designs this is a set of exposed pads; on wired designs it is a socket. Either one corrodes when left damp, and corrosion here is the fault that later arrives as “the charger stopped working”. Wipe it, keep it dry, and never scrub it with anything metal.
- The toe fold line. The element and its conductor cross the line where the insole flexes under the ball of the foot. Bending the insole backwards to scrub the underside, or hanging it on a line by its toe, puts mechanical stress exactly on the conductor’s weakest point.
- The laminate. The top sheet, element and moulded base are bonded in layers. Hot air from a radiator or a tumble dryer softens the bond before it damages anything visible; the layers separate weeks later, and the insole fails with no obvious cause. Delamination looks like a warranty claim and is actually a drying fault.
Clean by what is actually on it
Insoles get dirty in four distinct ways, and each has its own method. Applying the wrong one — usually soaking, out of habit from laundry — is what shortens the product’s life.
| What is on it | The right method | What ruins it |
|---|---|---|
| Sweat and general grime on the top sheet | Damp cloth, mild soap, work along the insole rather than across the fold line | Scrubbing in circles over the toe area |
| White or green deposit at the heel contact | Cotton bud with a little isopropyl alcohol, then a dry wipe | Leaving it, or picking at it with a metal tool |
| Water at a trimmed edge | Press a dry towel flat against the edge; stand the insole on its side to air | Squeezing or wringing the toe to drive the water out |
| Smell rather than dirt | Dry thoroughly, then treat the top sheet with a shoe deodoriser; rotate two pairs if it recurs | Soaking to “freshen it up” |
| Mud on the base | Let it dry fully, brush it off — the textured base sheds dry mud on its own | Washing wet mud into the laminate |

Drying is where the damage actually happens
An insole that has been worn hard holds a surprising amount of moisture, and almost every shortcut for removing it is destructive. The rules are short: never wring or twist, never tumble dry, never put it on a radiator or in an oven, and never put it back in the boot while it is still cool to the touch from damp. Lay it flat on a towel in a room with moving air, give it a full day — two in damp weather — and check the heel contact with a fingertip before charging. The temptation to speed this up is the single most expensive habit in the care of this product, because both the laminate and the contact fail slowly and invisibly.
The one habit that makes drying trivial: take the insoles out of the boots every evening. Ten seconds, no equipment, and the moisture that would have sat against the contact overnight goes into the room instead. This is also why a second pair, rotated, lasts more than twice as long as one pair worn continuously — each pair gets a full drying cycle between wears.
Wash the boot, wipe the insole
Most of the dirt that reaches an insole comes from the boot, and the cleaning routine should treat them as two objects with two rules. The boot — leather, suede or textile — has its own care products and can take the soaking the insole cannot. The rule that matters is sequencing: a boot washed in the evening and worn damp in the morning puts more water against the insole’s heel contact than any cleaning mistake, and it does it every day until the boot dries out. Give the boot a full day to dry before the insole goes back in, and when using a water-repellent spray on the upper, keep it away from the insole entirely — solvent-based sprays are designed to change how fabric behaves, and the top sheet of a heated insole is not the fabric they were designed for.
The care schedule that fits in a week
| When | What | Time |
|---|---|---|
| Every evening | Pull the insoles out of the boots; rest them flat overnight | Ten seconds |
| Once a week | Damp cloth over the top sheet; dry wipe of the heel contact; check the trim edge | Two minutes |
| Start of season | Full charge, contact check, trial heat before the first cold week | Half an hour |
| End of season | Clean, dry to the touch, store at roughly half charge in a dry box | Half an hour |
Storing them between seasons
Three months in a box does more damage than three months of wear, and all of it is avoidable. Store the packs at roughly half charge: a cell parked at full for a summer ages measurably faster, and a cell parked empty for a summer can drop below the voltage the charger is willing to recognise. Store the insoles flat, in a dry box, with the packs detached where the design allows — hanging them by the toe or leaving them compressed under other footwear puts a permanent set into the base and stress on the fold line. And store the boots empty: a boot sealed with an insole inside holds moisture against the contact for the whole off-season.
Before the first cold week of the next season, run the start-up in this order: full charge, fingertip check of the heel contact, then a trial heat on the bench for ten minutes. A pack that has sat for months sometimes needs one full charge cycle before it behaves normally again, and finding that out at the bench beats finding it out at the trailhead.
Where care ends and warranty begins
The line between a care fault and a product fault is drawn by evidence, and most of that evidence is visible without opening anything. A contact with green deposit has been damp; a laminate that has opened at the toe has seen heat; a conductor snapped well inside the trim line is a product matter, while one cut at the edge is an installation matter. The full fault table and the thirty-second checks behind it are in why heated insoles stop working — worth reading before any claim is filed, because the fix for four of the six faults in it costs nothing.
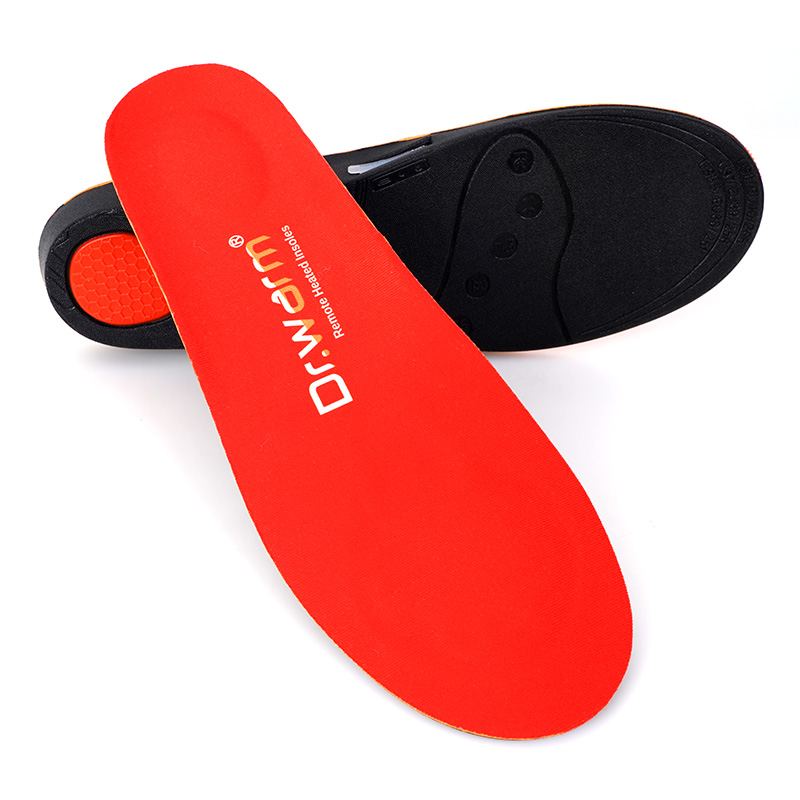
Custom heated insoles that survive real care
Dr. Warm builds 3.7V and 7.4V heated insoles with sealed laminates, magnetic or USB charging, remote or app control, IPX4 as standard and IPX5 optional, and supplies care cards a retailer can hand over at the till — which is cheaper than a return. Documentation covers CE, UKCA, IEC 62133, UN38.3, RoHS, REACH and GB 47372-2026 with CCC; OEM from 100 pairs, ODM from 500, 12-month warranty.
Frequently Asked Questions
Can heated insoles go in the washing machine?
No. The element is laminated between a moulded base and a fabric top, and the heel carries the charging contact — a wash cycle soaks all three and flexes the toe fold line at the same time. Clean the top sheet with a damp cloth and mild soap, brush the base dry, and keep water away from the heel entirely.
How do I clean the charging contacts on heated insoles?
With a cotton bud and a little isopropyl alcohol, followed by a dry wipe, then leave the insole to air flat. Green or white deposit at the contact is dried salt or sweat residue, and picking at it with anything metal damages the pads. Clean contacts when the charger indicator stops lighting reliably, not on a calendar.
How do I dry heated insoles if they get soaked?
Lay them flat on a towel in a room with moving air for a full day — two in damp weather — and press a dry towel against any wet trimmed edge instead of squeezing. Never wring, tumble dry or rest them on a radiator: heat separates the laminate weeks before anything looks wrong. Check the heel contact with a fingertip before charging.
How should heated insoles be stored between seasons?
Clean and fully dry, stored flat in a dry box with the packs at roughly half charge and detached where the design allows. Store the boots empty — a boot sealed with an insole inside holds moisture against the contact all off-season. Before the first cold week, give the pack a full charge and a ten-minute bench test.